1
Create Account
Begin your journey with Fenan Pay by creating an account on our platform.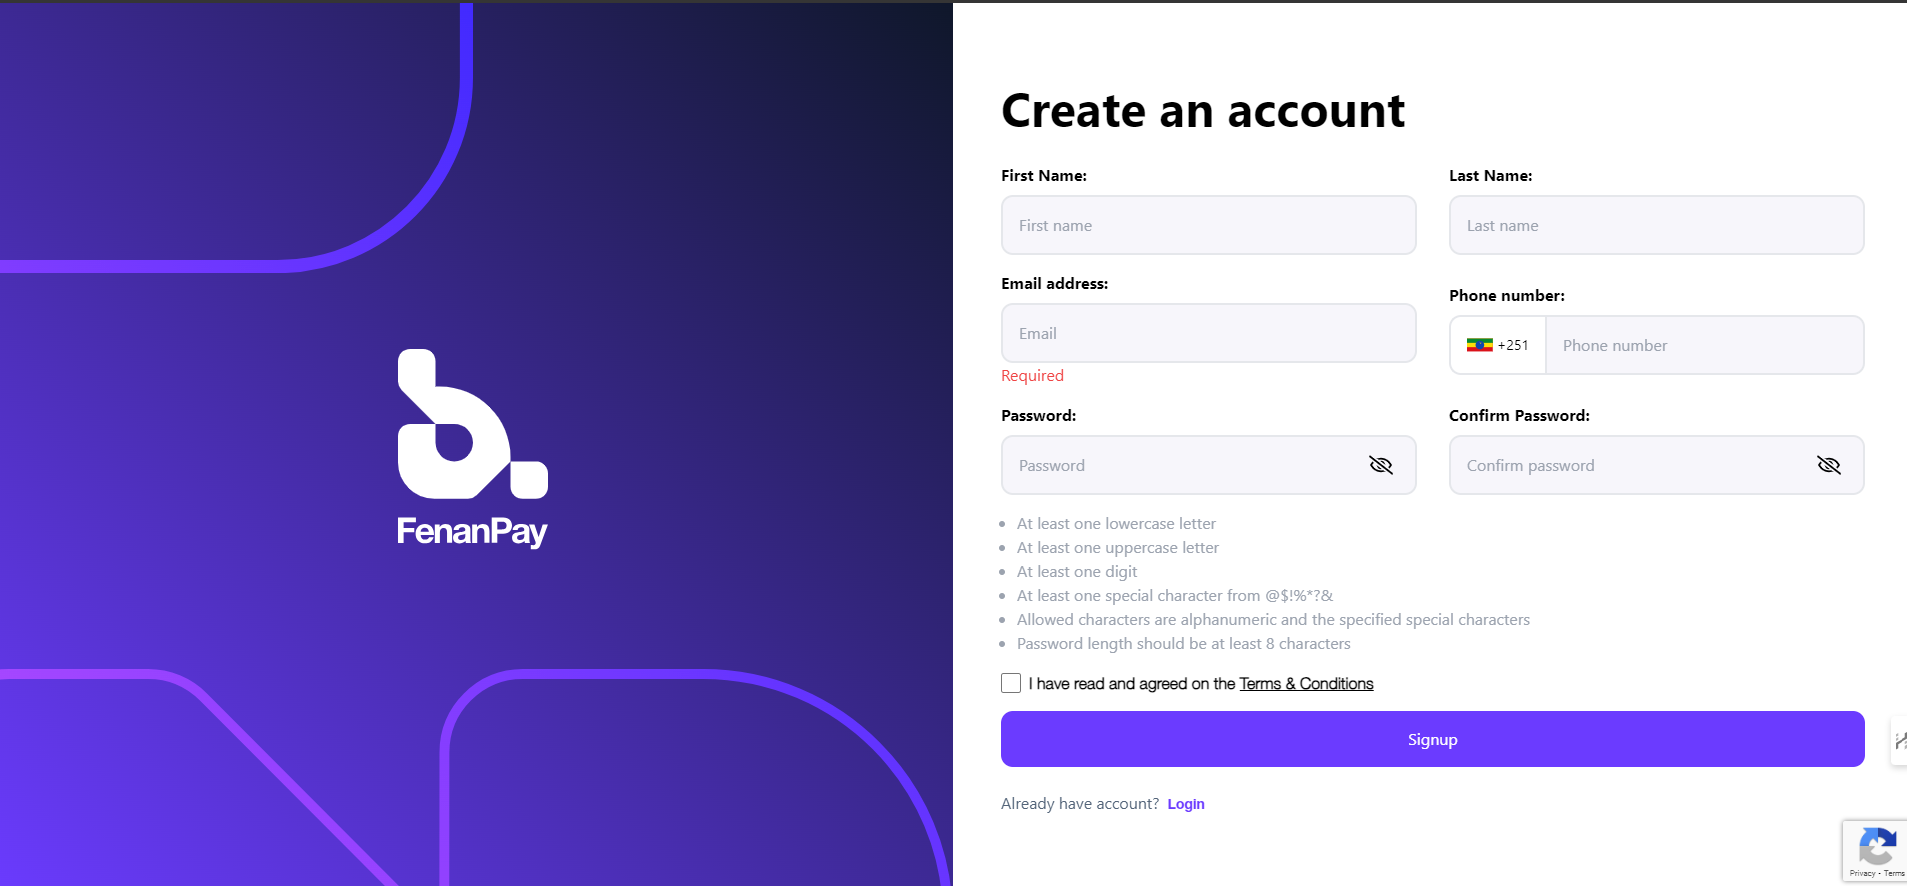
Make sure to verify your email address after registration to activate your account.
2
Create API Keys
Once your account is set up, you’ll need to create API keys for integration.Start by creating a test API key to use in your development environment. This allows you to integrate and test Fenan Pay without processing real transactions.
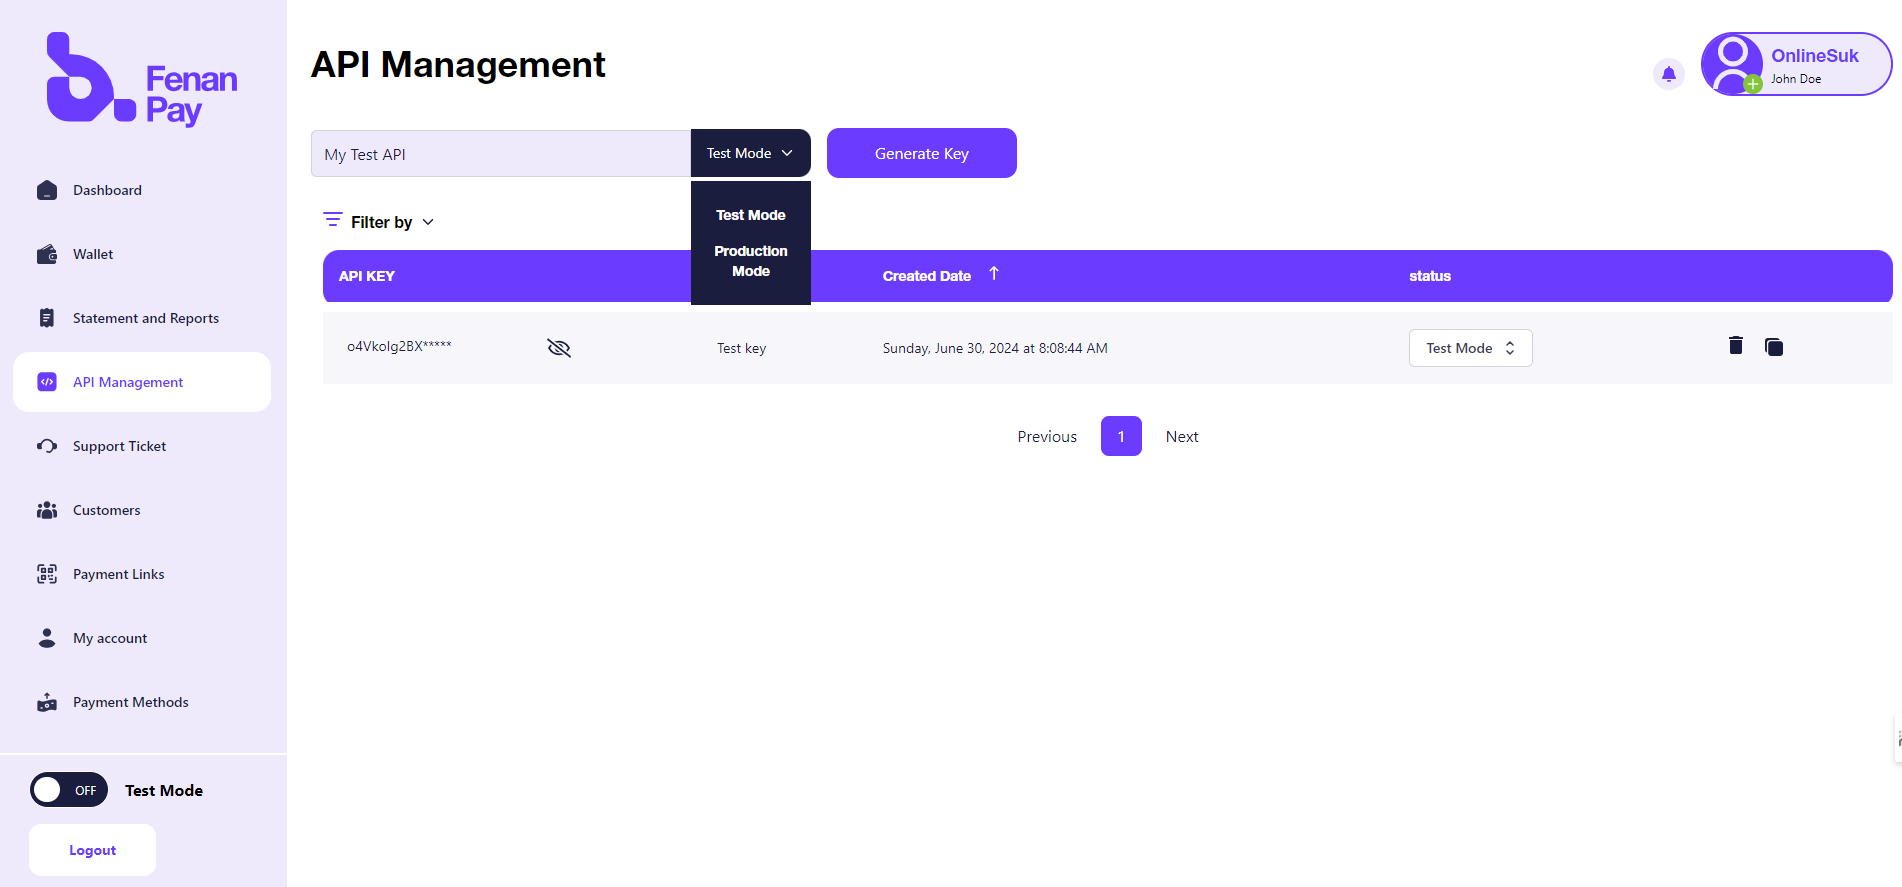
You can not collect real money with test API keys
3
Integrate Fenan Pay
Choose between ExpressPay or Checkout based on your needs, and integrate using our REST API or one of our SDKs.
- ExpressPay
- Checkout
Use ExpressPay if you already have a checkout page and want to reduce number of clicks.
Read more about ExpressPay
4
Go Live
When you’re ready to accept real payments, switch to live mode by completing these steps:
- Fill out the KYC (Know Your Customer) form in your Fenan Pay dashboard.
- Create a live API key once your KYC is approved.